
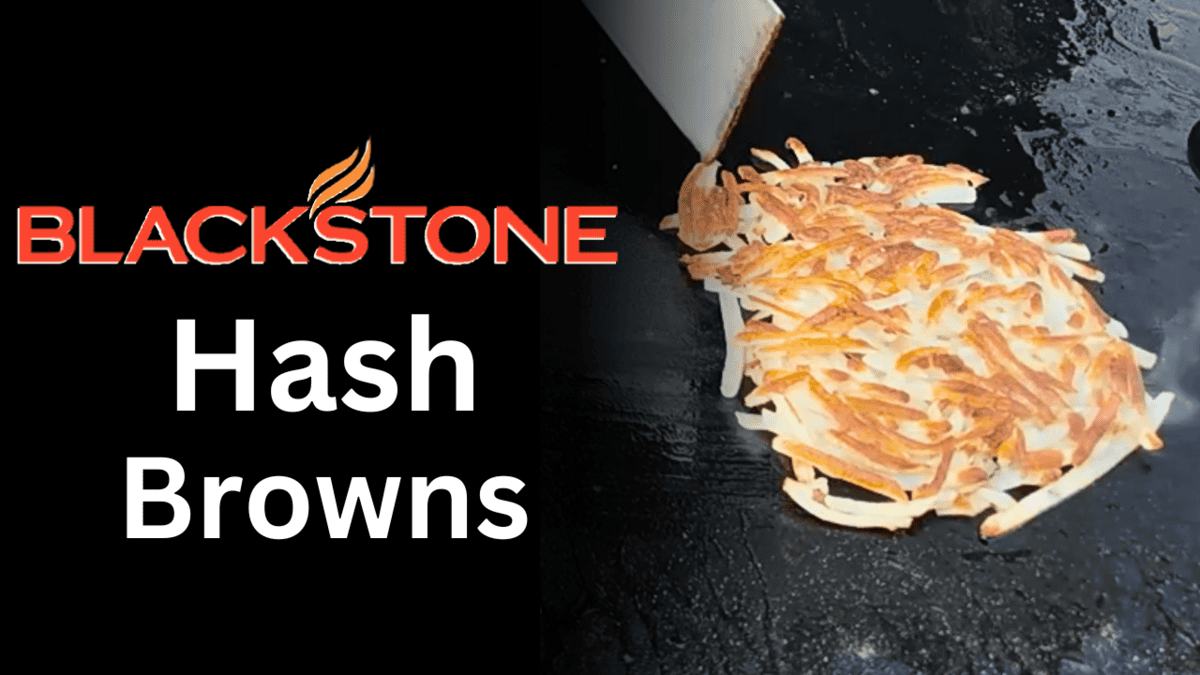
If you've ever struggled to get your hash browns crispy on the griddle, you're not alone. The good news? It’s not hard—as long as you follow a few key rules. I’ll walk you through exactly how I make mine on the Blackstone, plus compare the different types of hash browns (scratch, frozen, fresh, and dehydrated). I’ll even show you a couple fun ways to upgrade them.
Let’s get into it.
In This Post: Everything You Need to Know for Blackstone Hash Browns
- Quick-start recipe
- Best type of hash browns (scratch, dehydrated, fresh, frozen)
- Tater tot hash browns (why you need to try them)
- Easy upgrades for extra flavor
- Full video link to watch the process
Quick Hash Brown Recipe for the Griddle
Perfect Hashbrowns on a Griddle
Equipment
- 1 sptaula
Ingredients
- 2 cup frozen shredded hash browns
- 4 tablespoon oil or butter
- ½ teaspoon season salt or to taste
- ¼ teaspoon black pepper
Instructions
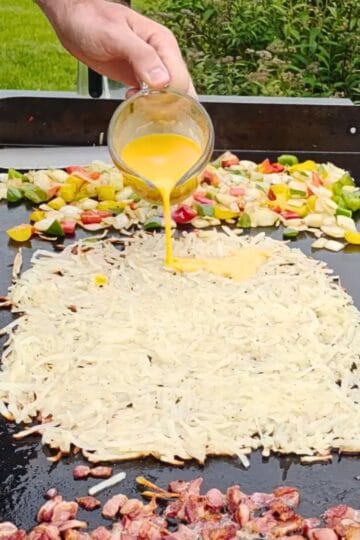
- Preheat griddle to 375–400°F. (low for 7 minutes on my 4 burner Blackstone)
- Add oil and/or butter to the hot surface.
- Add hash browns and seasoning then toss hash browns in the oil.
- Seperate into two piles and spread them out into a thin layer.
- Do not touch for 8–10 minutes. Let them crisp up!
- Once edges are golden brown, flip and cook another 5 minutes.
Video
The 4 Types of Hash Browns (Ranked from Worst to Best)
Everyone has their favorite kind, and I’ve tested them all. Here’s my breakdown based on flavor, ease, and results on the griddle.
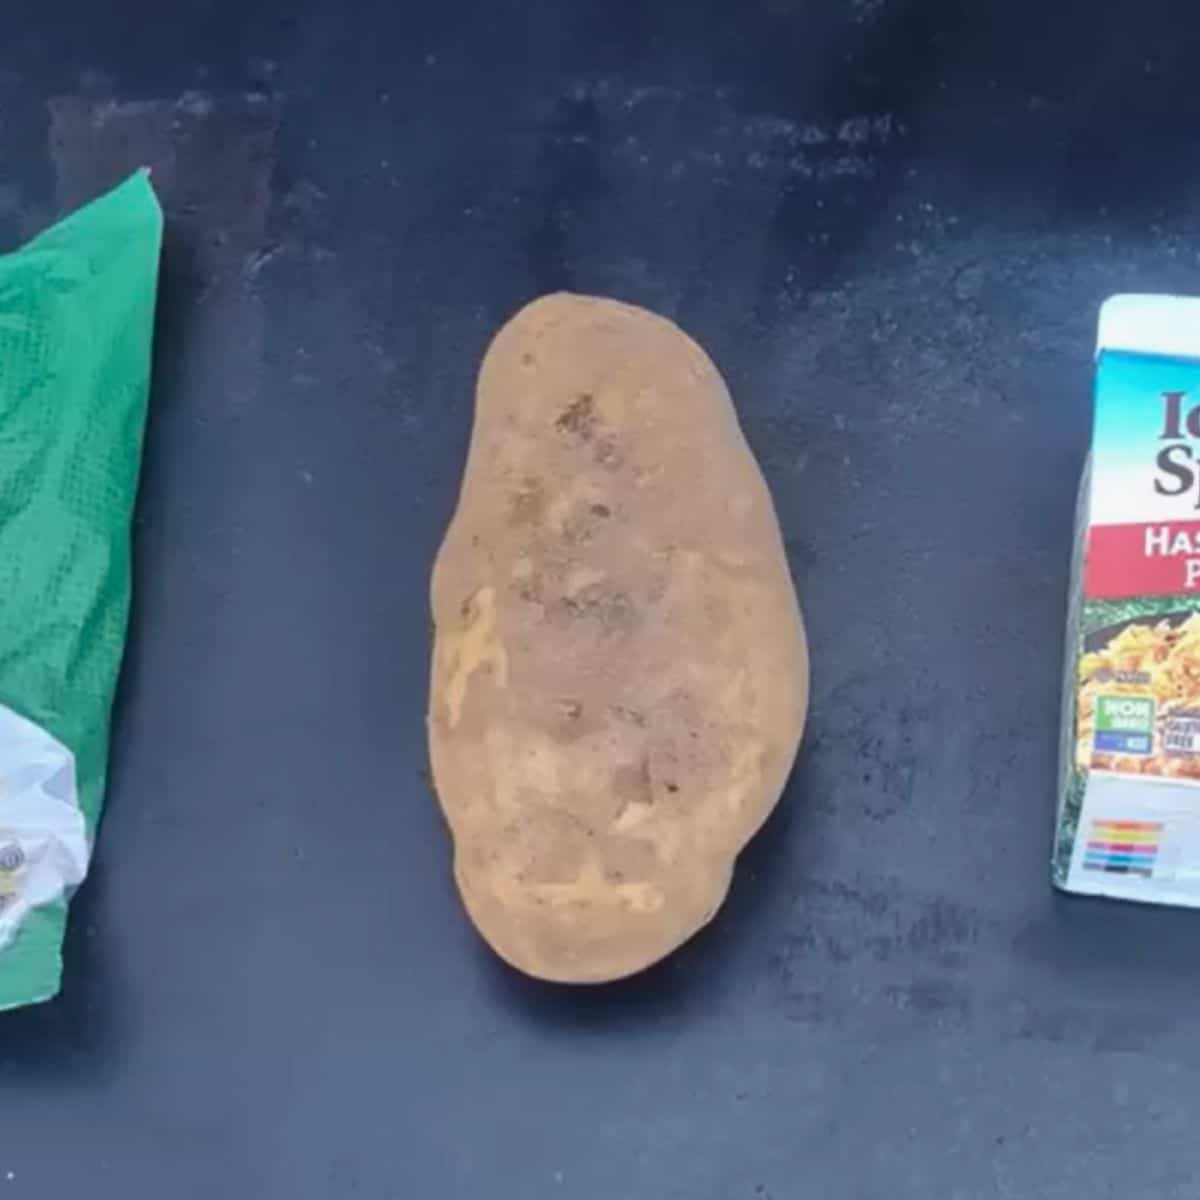
4. From Scratch (Grated Potatoes)
This is the classic diner method—but also the most work.
Steps:
- Peel and grate potatoes into a bowl of water (prevents browning).
- Rinse until water runs clear.
- Squeeze out excess water and press dry with towels.
- Let them air dry for a few minutes.
- Cook same as above: hot griddle, oil, don’t touch.
My take: Tastes great, but honestly? Not worth the effort for me. I’ve done it a few times and just don’t think it’s that much better than other options.
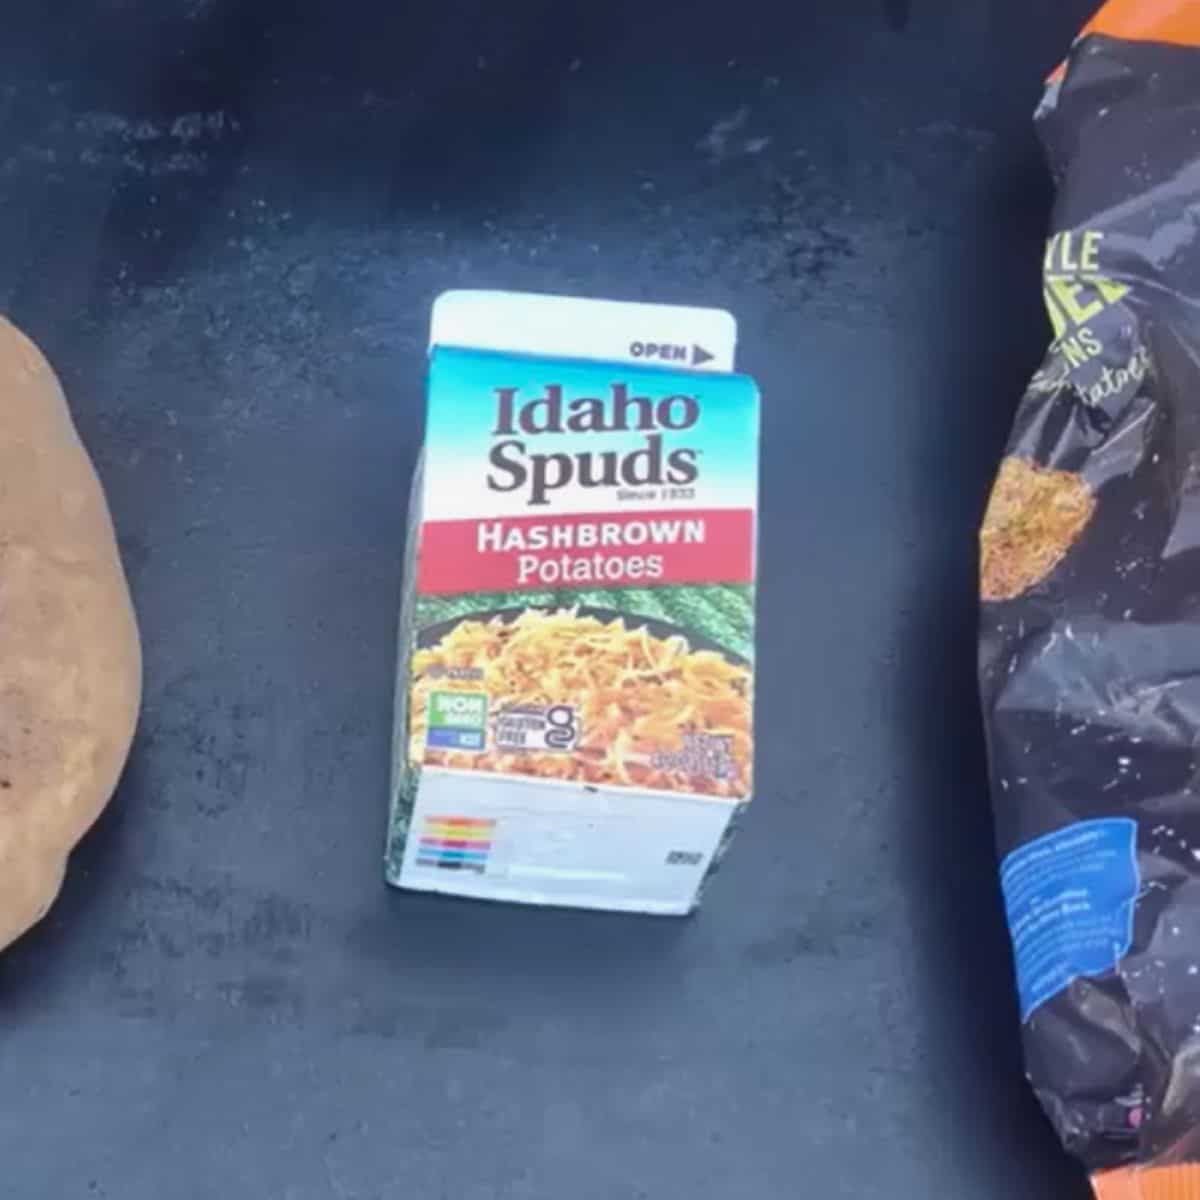
3. Dehydrated (Boxed)
If you’re camping, these are solid. Just add hot water and you’re ready to cook.
Pros:
- Shelf-stable and don’t need fridge space.
- Easy to portion out.
- You can add flavor by rehydrating with chicken broth or tossing in dehydrated onions.
Cons: Still requires boiling water and waiting a bit. Not quite as crispy as others.
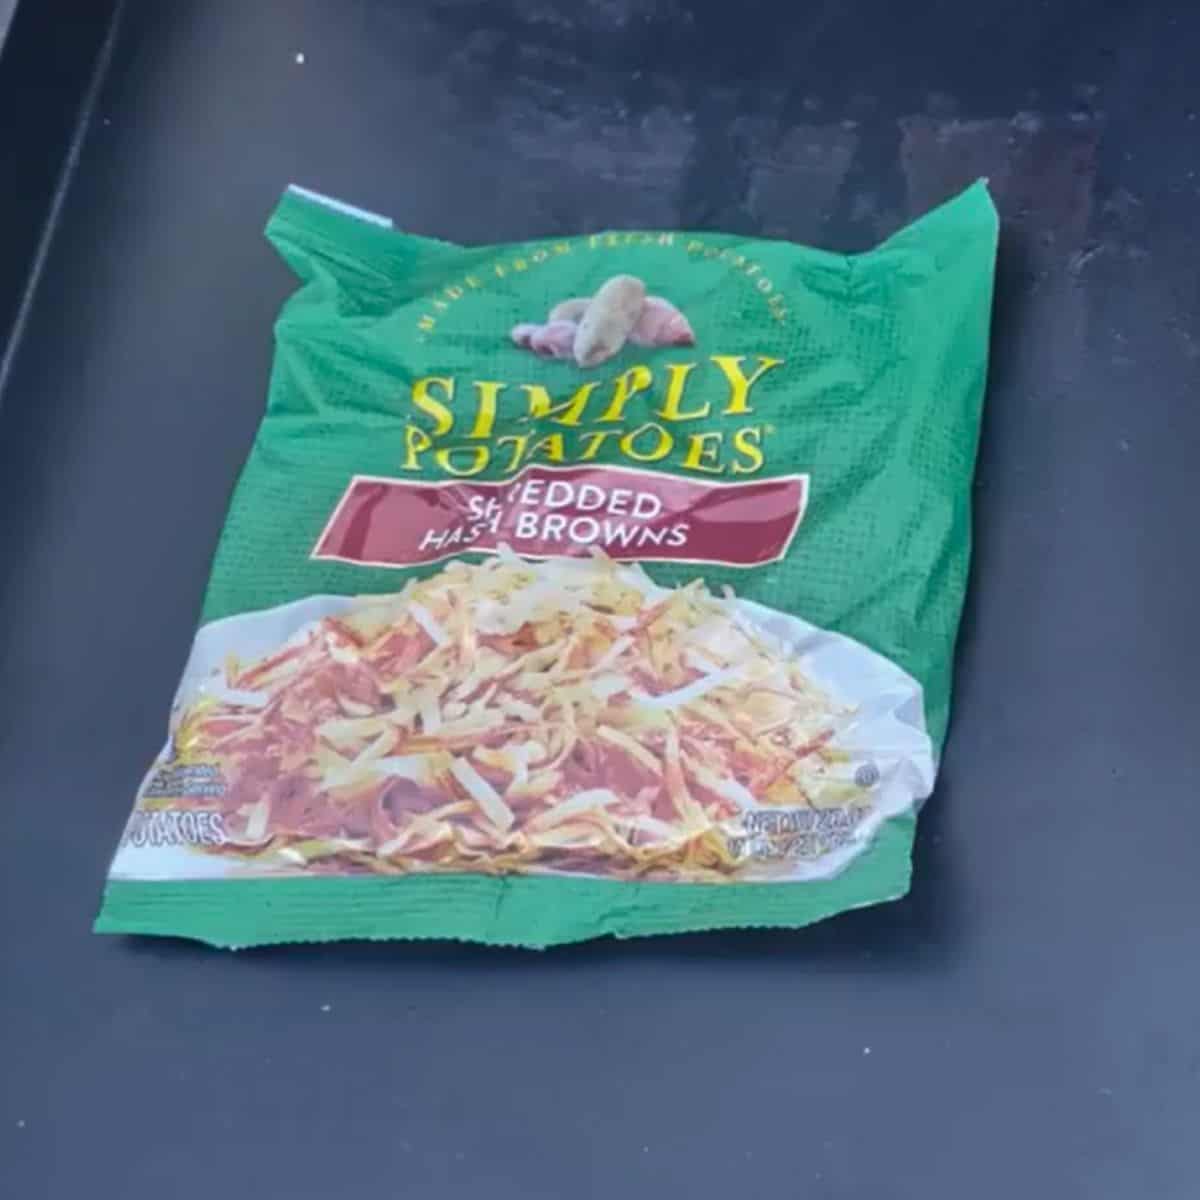
2. Fresh (Cooler Section)
These are basically tied for first in terms of taste and texture.
Pros:
- As good as from-scratch with zero prep.
- Usually sold near lunch meats or dairy—ask if you can’t find them.
- Just open the bag and go.
Cons: Big bags. If you’re only cooking for 1–2 people, you’ll have leftovers.
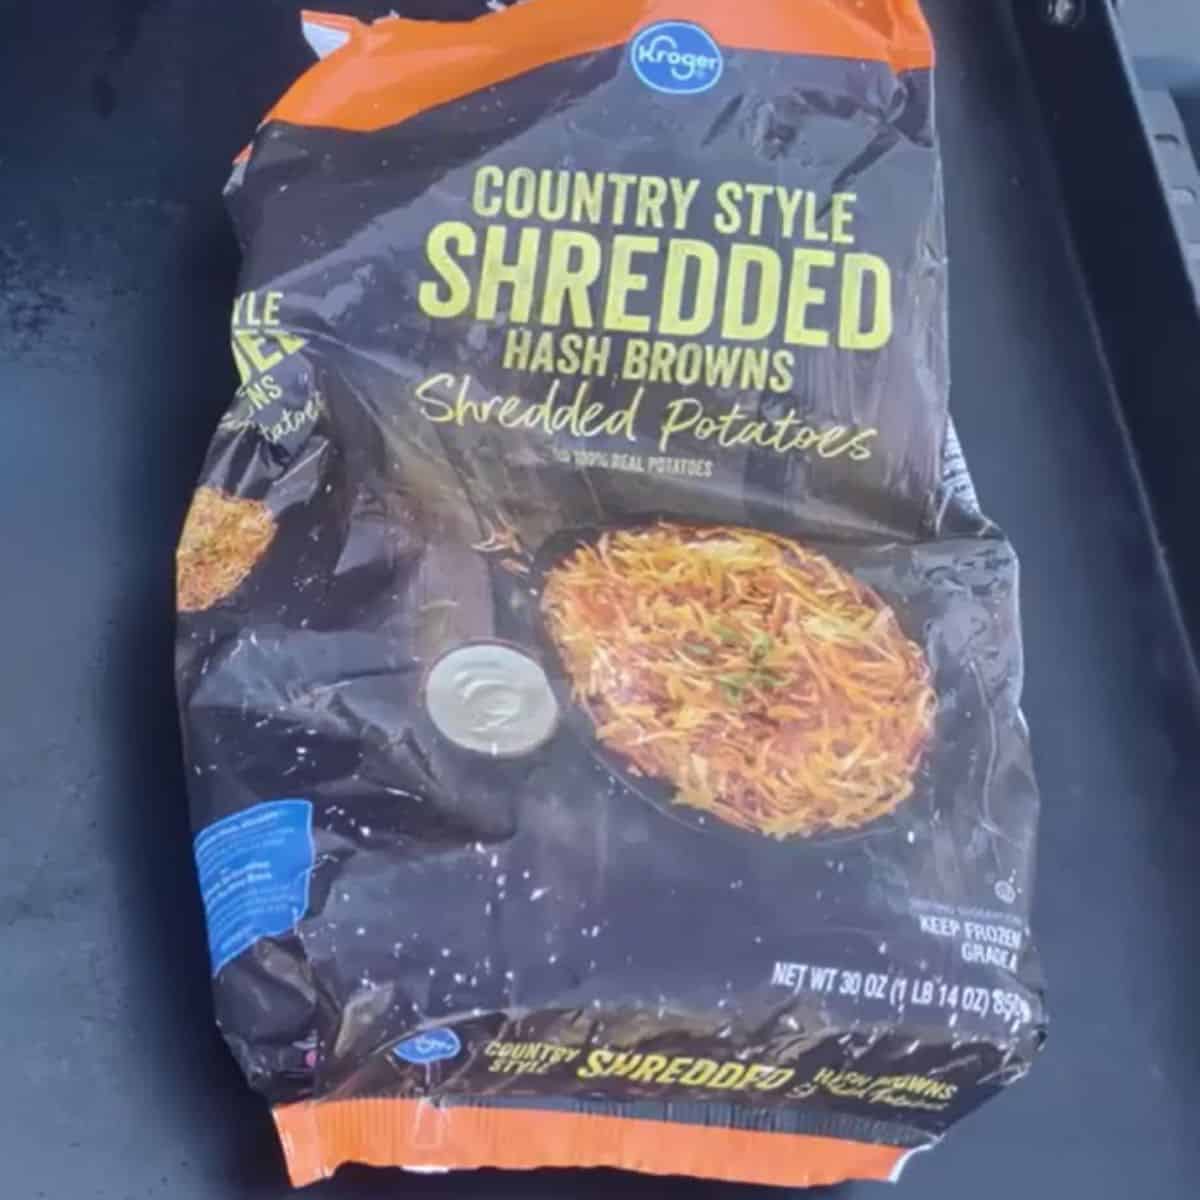
1. Frozen (My Favorite)
Frozen hash browns win for one big reason: convenience.
Why I love them:
- You can pull out just the amount you need.
- No prep—just toss them on the griddle.
- Can be cooked frozen, thawed on the counter, or microwaved for 30 seconds.
- Results are 90% as good as fresh ones with none of the work.
Pro tip: Half of my audience in polls said frozen was their go-to. And I agree.
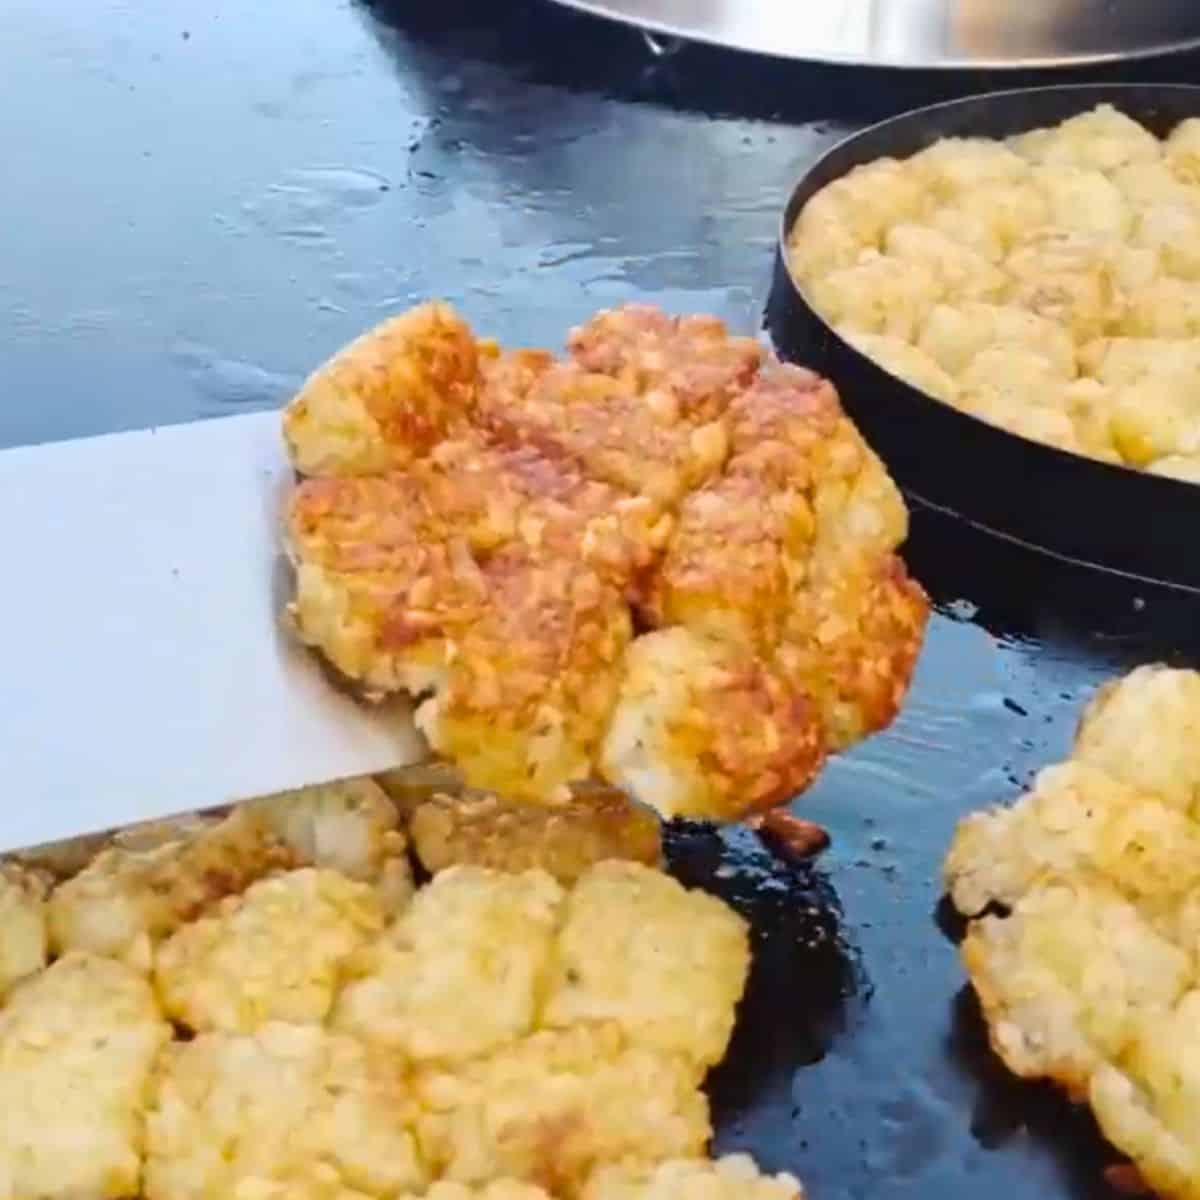
Bonus: Tater Tot Hash Browns
Okay, technically these aren’t shredded—but trust me, you’ve gotta try them.
How to do it:
- Defrost tater tots (microwave or counter).
- Smash them on the griddle using a spatula or burger press.
- Let them crisp up for 8–10 minutes, flip, and cook the other side.
- No need to season—most are already flavored.
These turn into golden brown breakfast potato discs, and they might honestly be my favorite version.
Here's a video where I go over the tater tot hash browns
Hash Brown Upgrades Worth Trying
Want to take things further? Here are three easy ways to upgrade your hash browns.
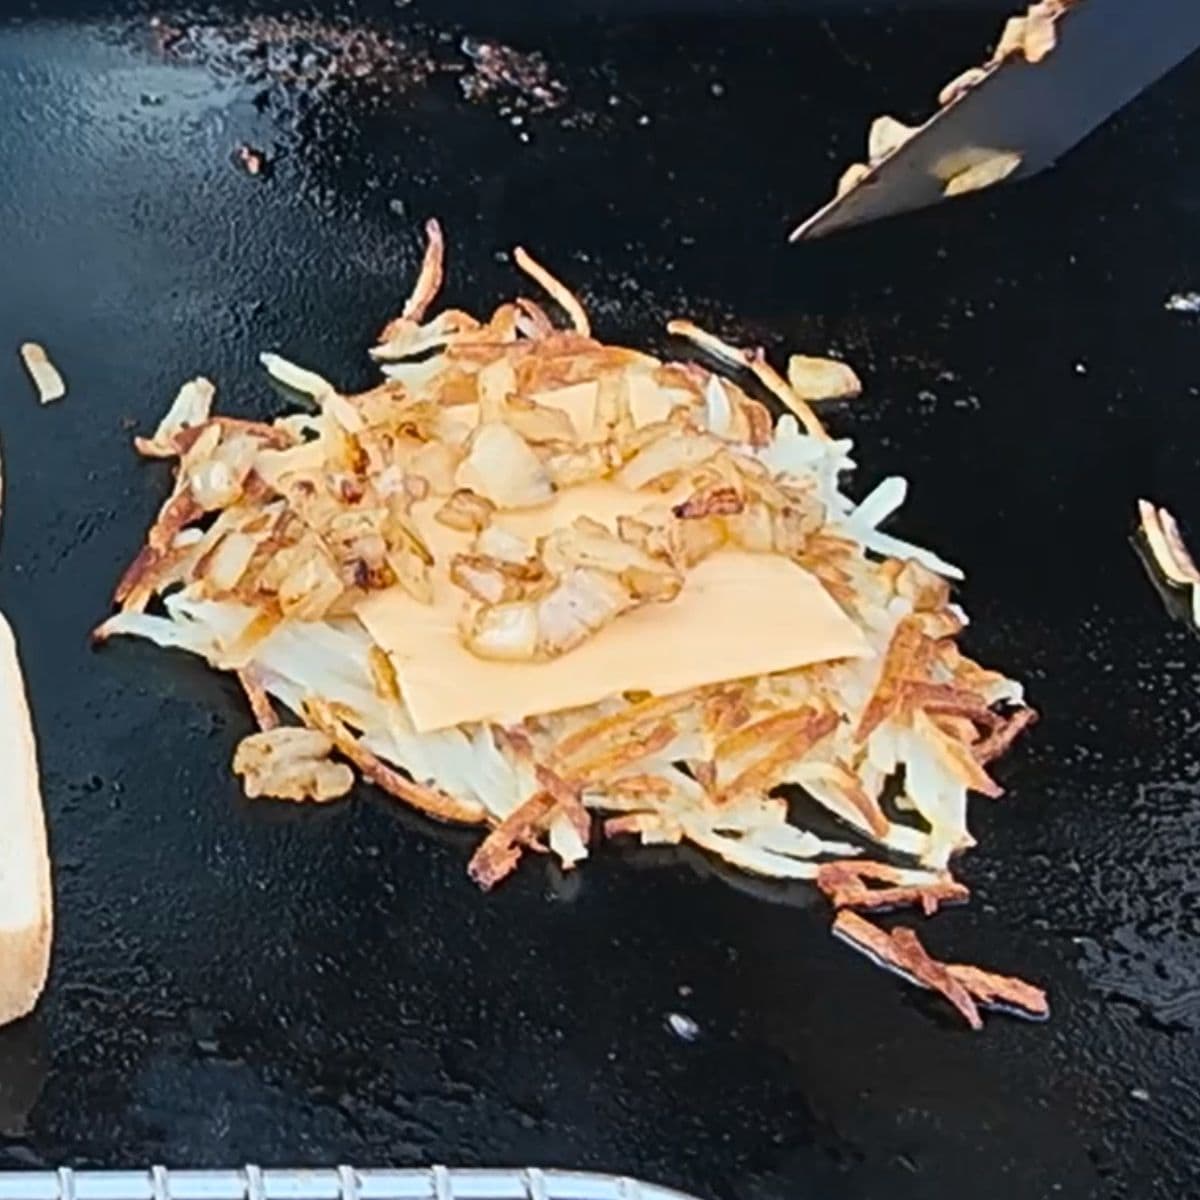
1. Waffle House Style (Smothered & Covered)
- Toss diced onions next to your hash browns while they cook.
- Once both are done, melt cheese on top and add the onions.
- Simple, delicious, and feels like a diner breakfast at home.
2. Egg Ring Hash Browns
- Use an egg ring to form perfect little hash brown pucks.
- Great for breakfast sandwiches or portion control.
- Same cooking method: hot, oiled griddle, don’t touch for 8–10 minutes.
3. Use a Weight
- A burger press or steak weight helps get more surface contact.
- This means more crispy bits and a faster cook time.
Final Tips for Crispy Hash Browns
- Griddle Temp: 375–400°F
- Oil/Butter: Don’t skimp—hash browns need fat to crisp
- Spread thin: Thicker = soggy
- Do not touch: Let them sit for at least 8–10 minutes before flipping
- Look for golden edges: That’s your signal to flip
Wrapping It Up
Frozen hash browns are my go-to, but every version has its place. Whether you're using a box of dehydrated potatoes at the campground or trying a full-on tater tot experiment, just follow the core rule:
Hot griddle + oil + no touching = crispy results.
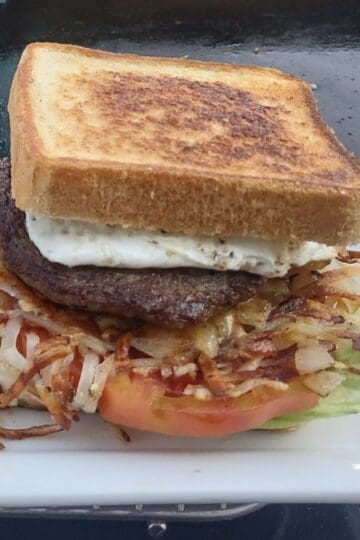
Here is my hashbrown specific video and below that is a full breakfast video, also with hash browns.
If you’re making breakfast on your Blackstone, I’ve got a full video that shows the whole process—including eggs, bacon, and toast. You can watch it below.


Blair Yauch says
Haven't got my griddle set up just yet, but I been checking out your page daily and watching your videos. It looks like we are going to have a great season but I will be busy at the griddle often. Your recipes sound great and your instruction videos are the best I have seen. Thanks for opening my eyes to a whole new experience. My family can hardly wait for me to get this thing started.
Johnny says
Hi Blair. Congrats on the new griddle I hope you get it set up soon. And I'm so glad my page and videos have been helpful. I hope you're making a big breakfast or a bunch of smash burgers for your family soon. Let me know if you have any questions, I'm always happy to help.