
Just Got a Griddle? Start Here
Buying a Blackstone griddle is exciting — right up until you try to figure out how to actually use it. Seasoning, heat control, cleaning, accessories… it’s easy to feel overwhelmed fast.
This bolg post is a practical beginner’s guide to flat top grilling. No fluff, no chef talk — just the things new owners need to know to cook confidently and avoid common mistakes.
Jump to:
How To Seasoning Your Blackstone Griddle
Before you cook, you need to season your griddle. This creates a non-stick surface and helps prevent rust. Here’s what you need:
- Oil (I've used Canola, Avocado, & Blackstone’s seasoning. They all worked well)
- Paper towels (to spread the oil)
- Tongs (to keep your hands safe)
- 1 Tbsn measuring spoon
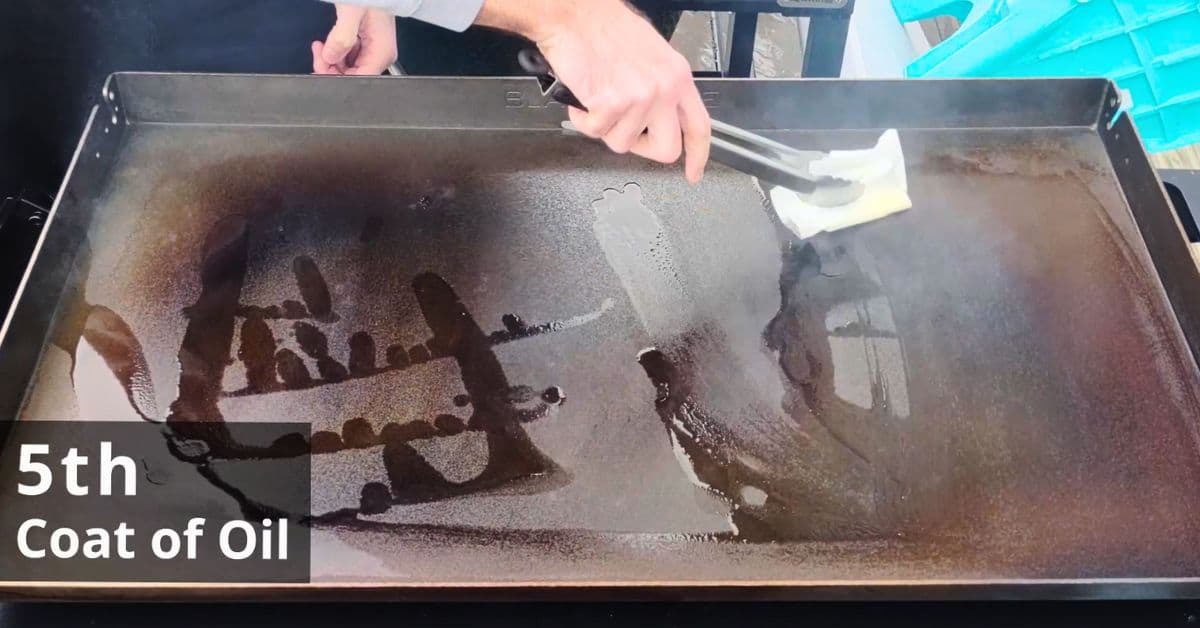
Step-by-Step Instructions For Seasoning a Griddle
When I season a griddle, the most important thing for me is keeping each coat thin. That’s why I use a tablespoon to measure the oil rather than just pouring it on. Using too much oil is what usually leads to sticky or uneven seasoning.
I’ve seasoned griddles two different ways:
- Option 1: Let the griddle cool between coats (this is the way I usually do it)
- I personally think this gives a better end result, but it takes quite a bit longer. When I do it this way, I let the griddle cool completely between coats, and five coats took me about 5 hours total.
- Option 2: Keep the heat on and keep going
- This method also works well and is much faster. I leave the griddle on and apply the next coat once the smoke has fully burned off, and the whole process usually takes around 2 hours.
Both methods work. It justs depends how many beers you want to drink that day.
- Clean the Griddle. Start with a clean surface. If it’s new, wash it with warm water (dish soap optional), then dry it completely before turning the heat on.
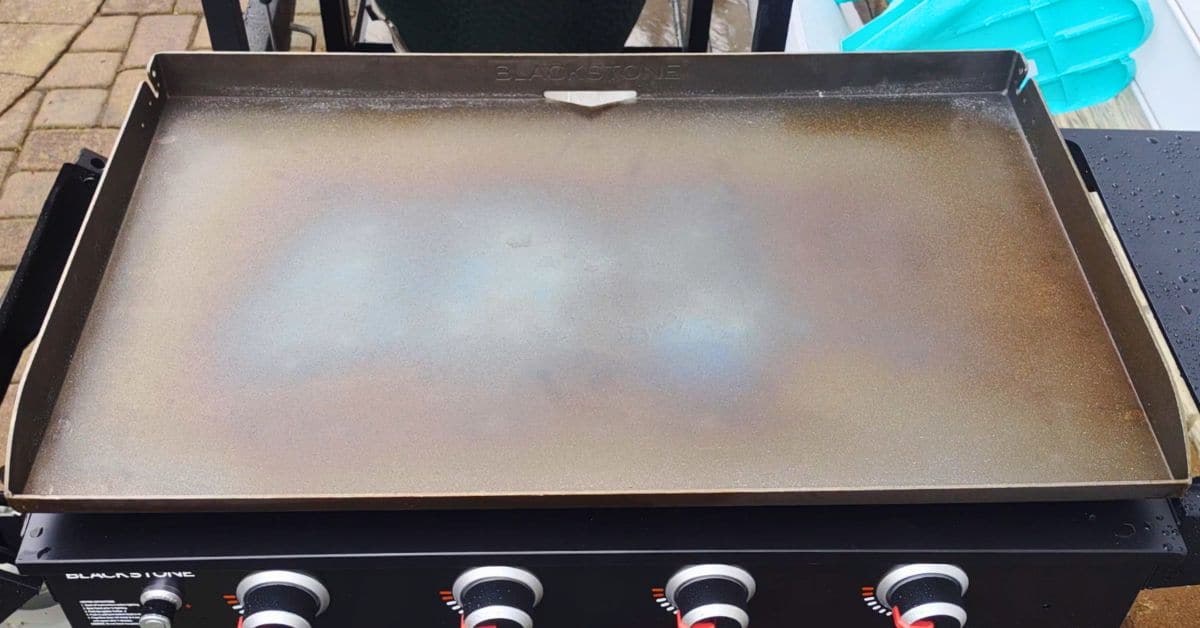
- Heat the Griddle. Turn the burners on high and let the griddle heat up until the surface starts to discolor. This usually takes about 10–15 minutes.
⭐️ Bacon!: Blackstone doesn’t recommend using bacon fat for the initial seasoning because it can lead to uneven seasoning or chipping over time. Because of that, I’ve never used it for the first seasoning either.
Don’t worry — we’ll get to the bacon at the end.
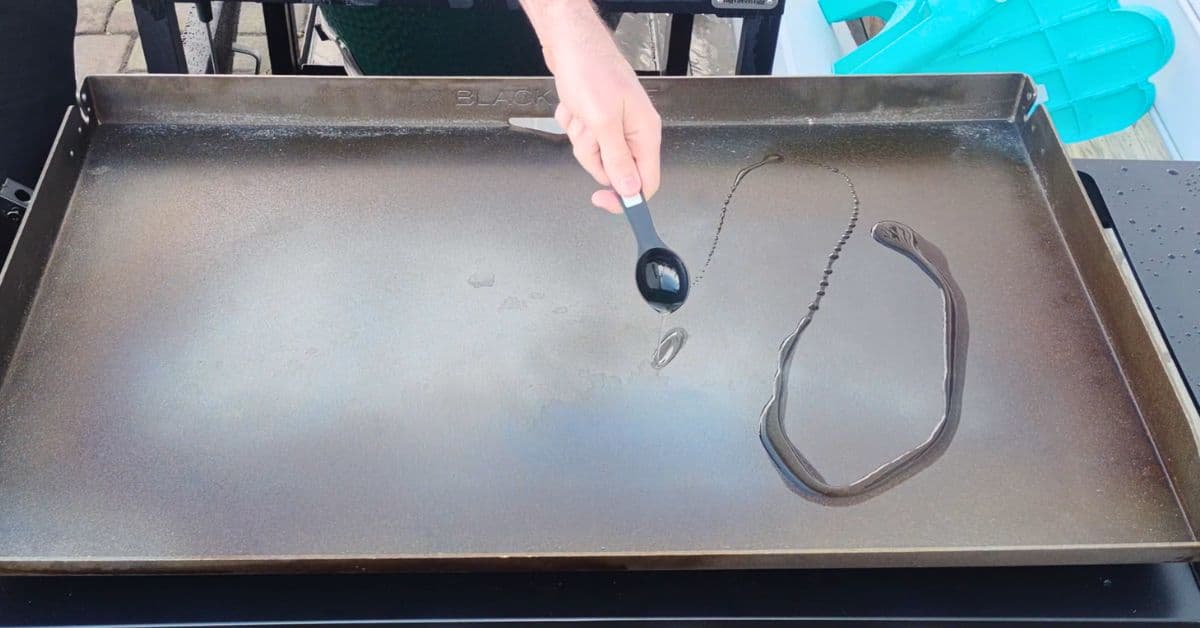
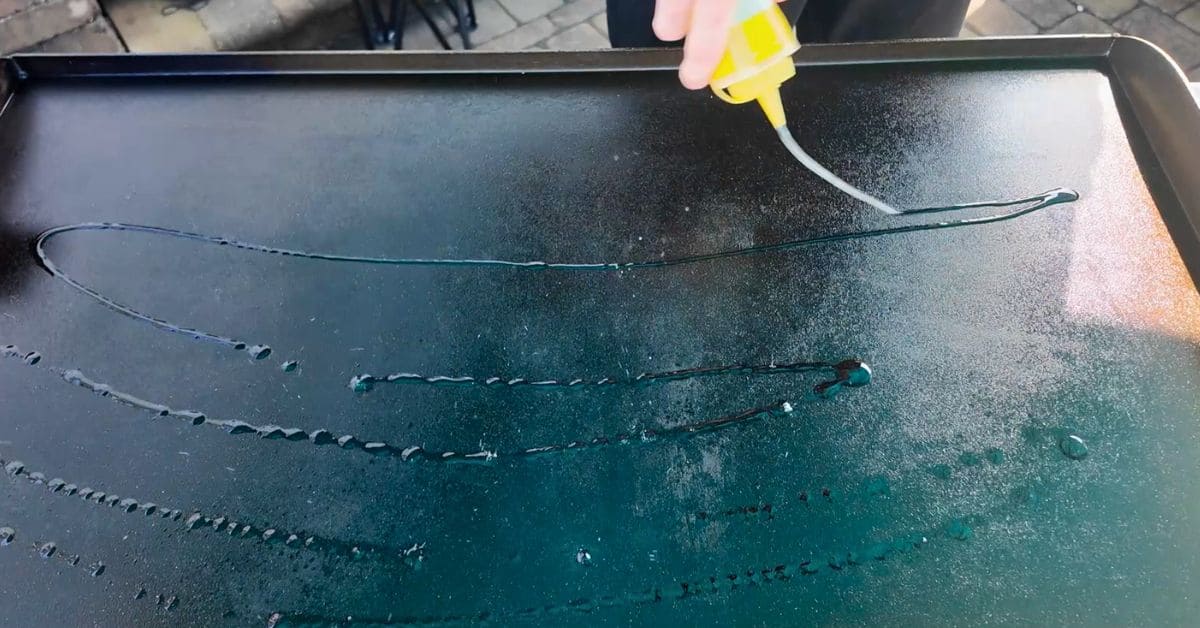
- Add a Thin Coat of Oil. Next add a very thin coat of oil and spread it evenly across the entire surface. I recommend:
- 1½ tablespoons for a 2- or 3-burner griddle
- 2 tablespoons for a 4-burner griddle
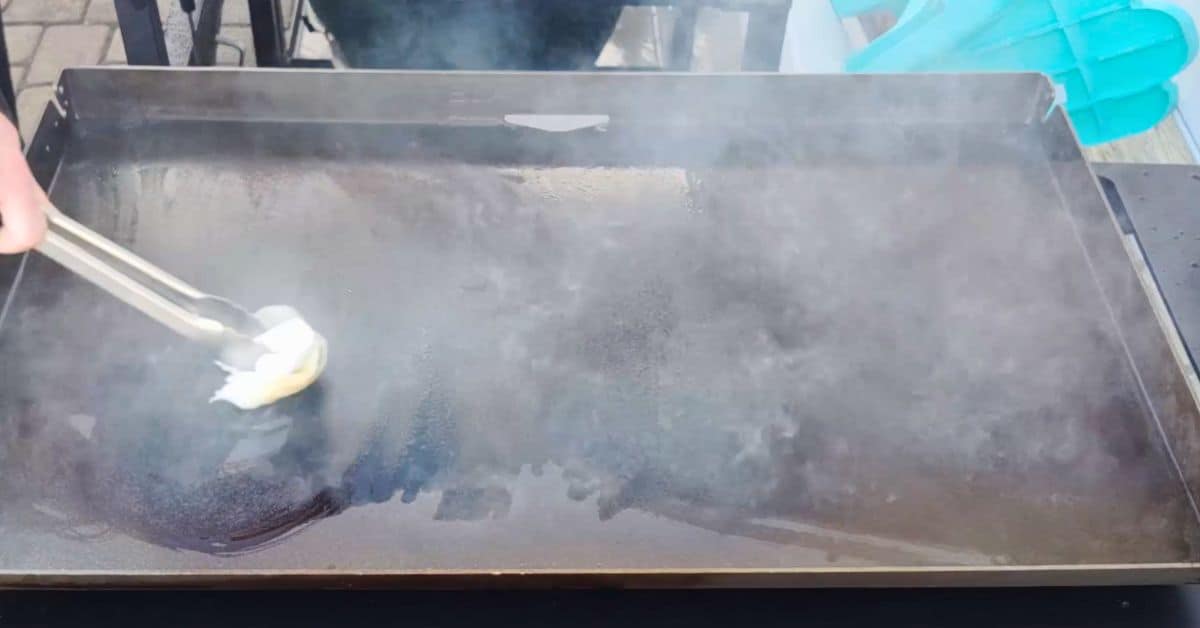
- Let the Oil Burn Off. The oil smoke and burn off completely. This usually takes 15–20 minutes. Don’t rush it — wait until the smoke is gone before moving on.
- Burn Off More Coats. Repeat the oil and burn-off process 4–5 times. Again, it’s your choice whether you let the griddle cool down between coats or keep it hot and keep going.
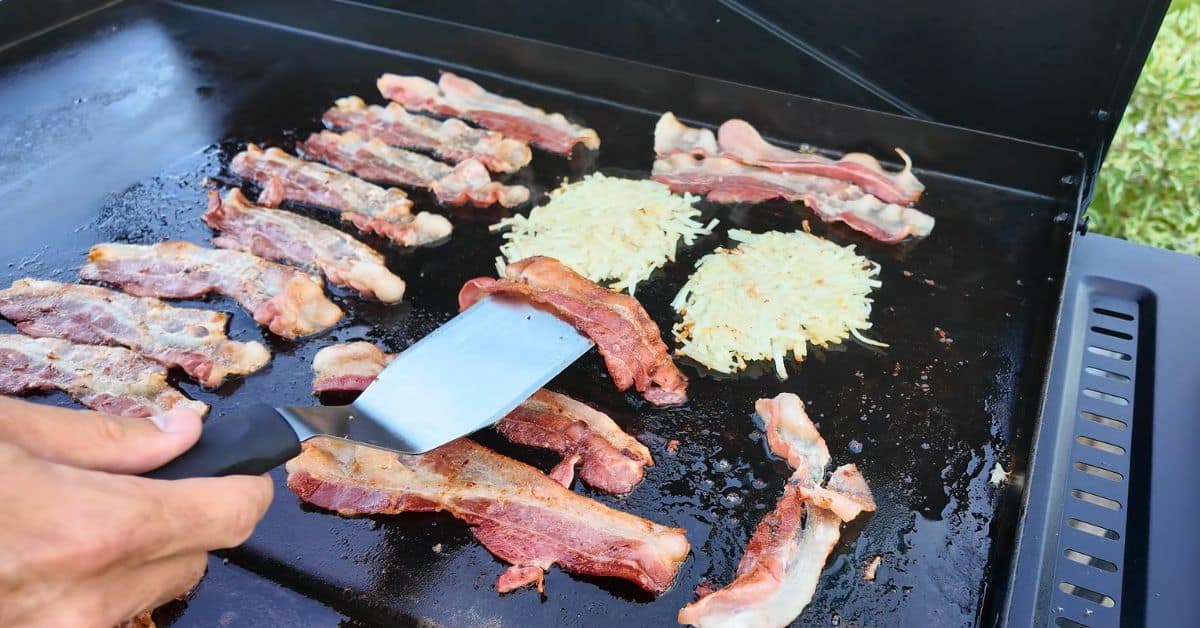
- Let It Cool and Cook Bacon. After the final coat burns off, turn the griddle off and let it cool naturally. A pound of bacon is a great first cook and helps continue building that seasoning.
If you want more detail and a video of seasoning, check out this post here: How to Season a Blackstone Griddle
What Oil to Use When Cooking on a Blackstone Griddle
I generally prefer high smoke point oils because a griddle gets hot fast. You can use lower smoke point oils or fats like butter, just keep an eye on your heat so it doesn’t burn and leave a bad flavor behind.
⭐️ FYI: I’m not a doctor, and this isn’t an oil bible - it’s just what I use and like.
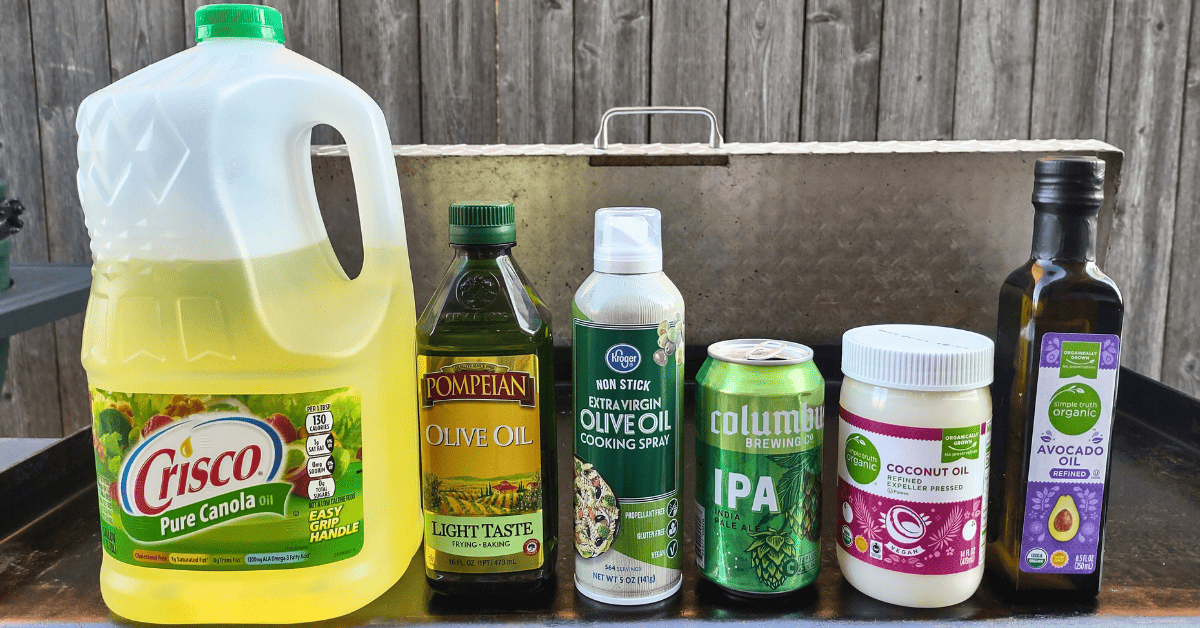
- Avocado Oil (my top choice)
This is what I reach for most often. It has a very high smoke point (around 500–520°F) and has a nuetral flavor, which makes it great for griddle cooking. - Peanut Oil
Another solid high-heat option with a smoke point around 450°F. It works well for hotter cooks and adds a little flavor without overpowering the food. I also like using it for shallow frying food. - Canola Oil
This one comes in last for me, mostly because it’s a low smoke point around 400°F . But it's on the list because it's cheap and easy to find. It still works fine for cooking, and plenty of people use it with no issues at all. Some folks think it’s the devil and causes every disease known to man, but again, I’m not a doctor—and this isn’t a health food site.
If you’re just getting started, any of these will get the job done. Don’t overthink it — focus more on heat control than chasing the “perfect” oil.
Read my full blog post on oil here: What Oil I Use On My Blackstone Griddle
Blackstone Griddle Temperature Guide
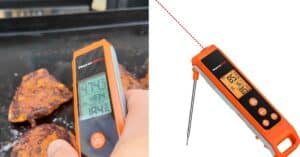
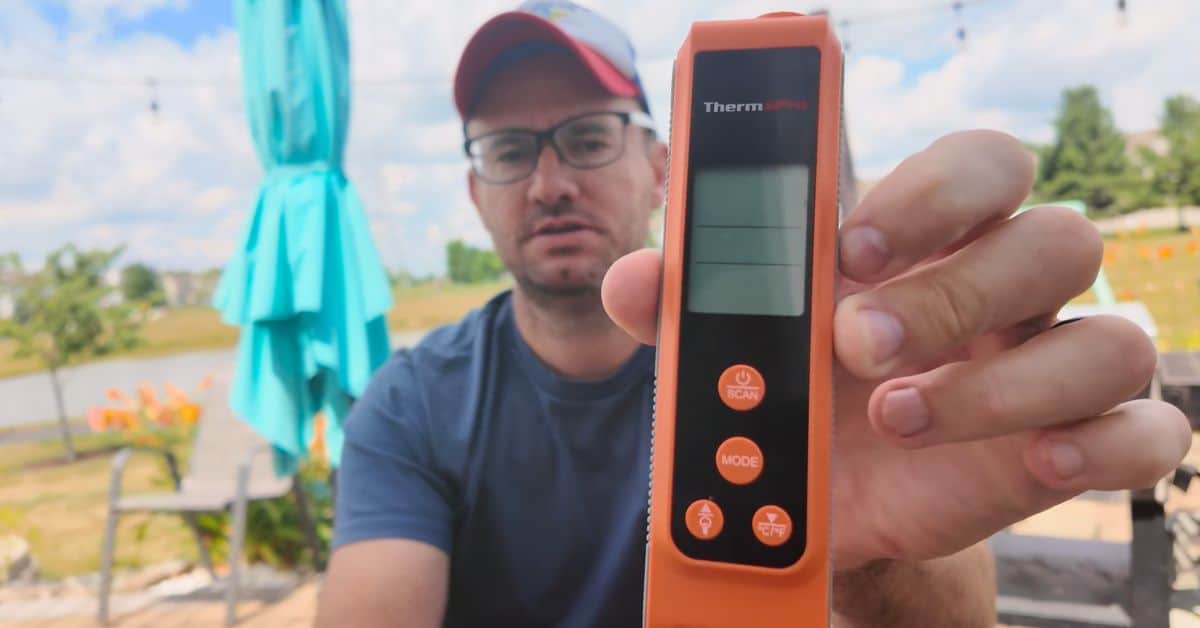
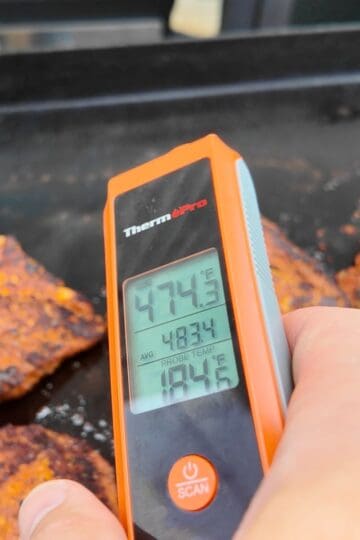
Getting the right heat is one of the most important skills in griddle cooking. That’s why I recommend all new griddle owners get an infrared thermometer. It helps you avoid burning food and I still use mine everytime.
My favorite infrared thermometer is the Thermopro 2 in 1 infrared thermometer. You can use it to get your griddle surface temp and the internal temp of your food. Get 20% off by using code Johnny10
What Temperature to Cook On a Blackstone Griddle
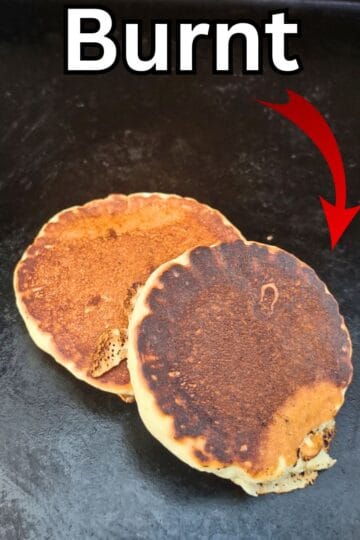
When I use a thermometer, I’m not chasing an exact number. I just try to get close. Your griddle is never going to be the same temperature across the whole surface anyway, so stressing over perfect temps doesn’t really help. These are just the ranges I personally shoot for, not hard rules you have to follow.
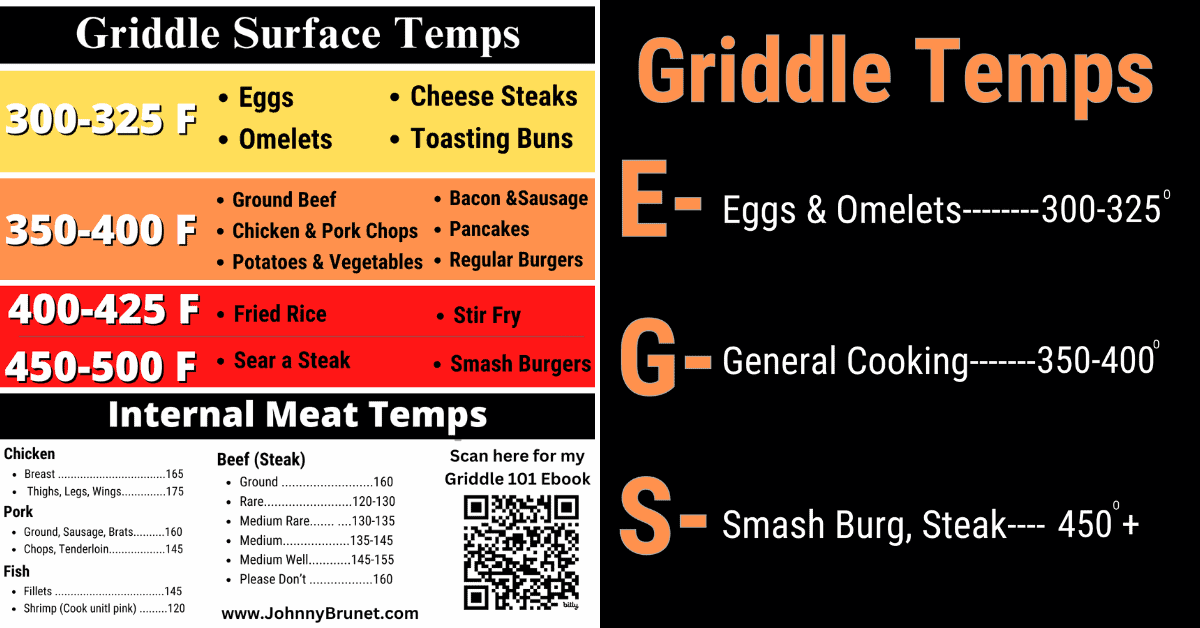
I do have a full temperature cheat sheet that I give away for free when you sign up for my newsletter, but you don’t need that to get started. My general rule of thumb is something I call E.G.S. — an acronym I made up that keeps things simple for beginners.
The E-G-S Temperature Method:
- Eggs & Omelets → 300-325°F
- General Cooking → 350-400°F
- Searing (Steaks, Smash Burgers) → 425-500°F
How to Get Your Blackstone Griddle to the Right Temperature
Most residential griddles are fairly thin, so the temperature can fluctuate. That’s why they cost hundreds of dollars instead of thousands like restuarant flat tops. But that’s okay—you can still make great food. Here are my tips to do just that.
Tips for Managing Heat:
- Preheat on Low – Start all burners on low, check after 5 minutes to see if you're at the desired temp.
- Use an Infrared Thermometer – Cook by temperature, not the knobs. “Medium” isn’t the same on every griddle — some run hotter than others, and outside temperature makes a big difference. Medium heat in the summer won’t cook the same as medium heat in late fall.
- Use Hot & Cool Spots – Most griddles are colder near the sides and corners. Store your finished food here.
- Turn Burners Off When Needed – You don't have to have all the burners on. If it's too hot you can stager one burner on and the next off.
- Cook Eggs on Residual Heat – Avoid burning by cooking eggs last on a turned-off burner.
Check out my full blog post here: How to Get Your Griddle to the Proper Temperature
Blackstone Cooking Order: What to Cook First
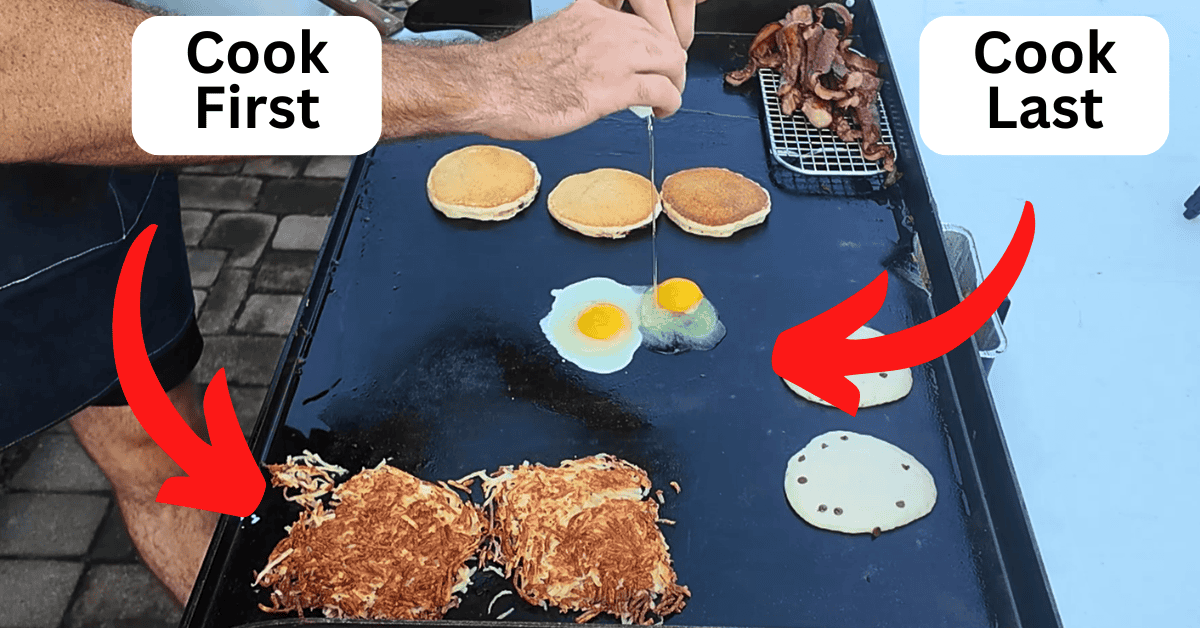
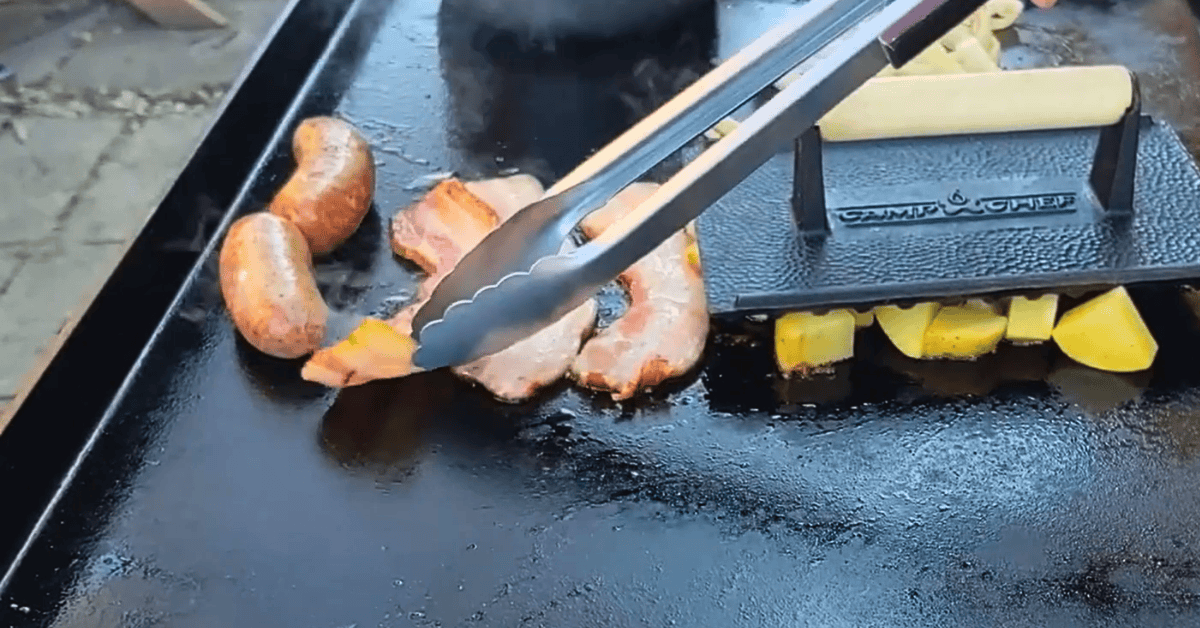
It sounds simple, but I’ve learned the hard way: cook the longest items first. For breakfast, that means potatoes and bacon before eggs—otherwise your eggs finish too soon and get cold. Below is my go-to breakfast order.
- Start with potatoes (they take the longest).
- Add bacon next.
- Cook pancakes or toast while bacon finishes.
- Cook eggs last on residual heat.
Must-Have Blackstone Griddle Accessories for New Owners
You don’t need every accessory under the sun to get started with a griddle. Here’s what I consider essential:
- Metal Tongs. You probably already have these. If you don't get a longer pair and make sure they don't have plastic tips.
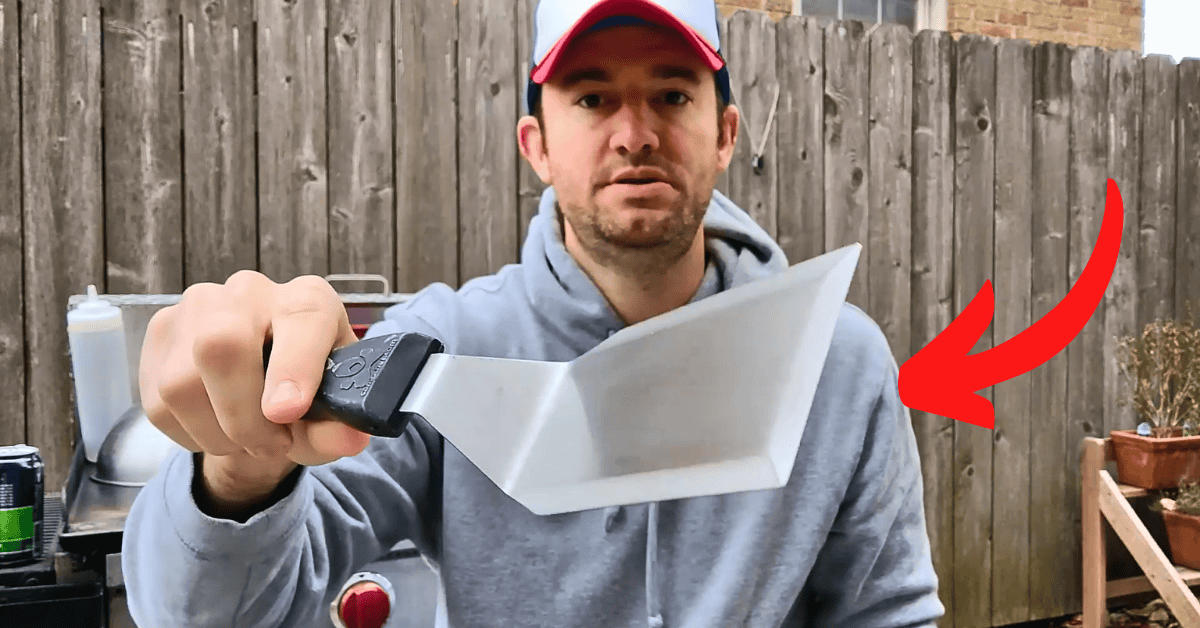
- Metal Spatulas. If you’re picking up new ones, I recommend ones with beveled edges to help get under your food. Especially smash burgers
⭐️ Pro Tip!: The sides of the griddle get hot. So if you put plastic on there it could melt. If you put paper towels on the sides they could catch on fire.
- Infrared thermometer. I know I already mentioned this in the temperature section, but I really think it’s essential for new griddle owners to learn and control their cooking temps.
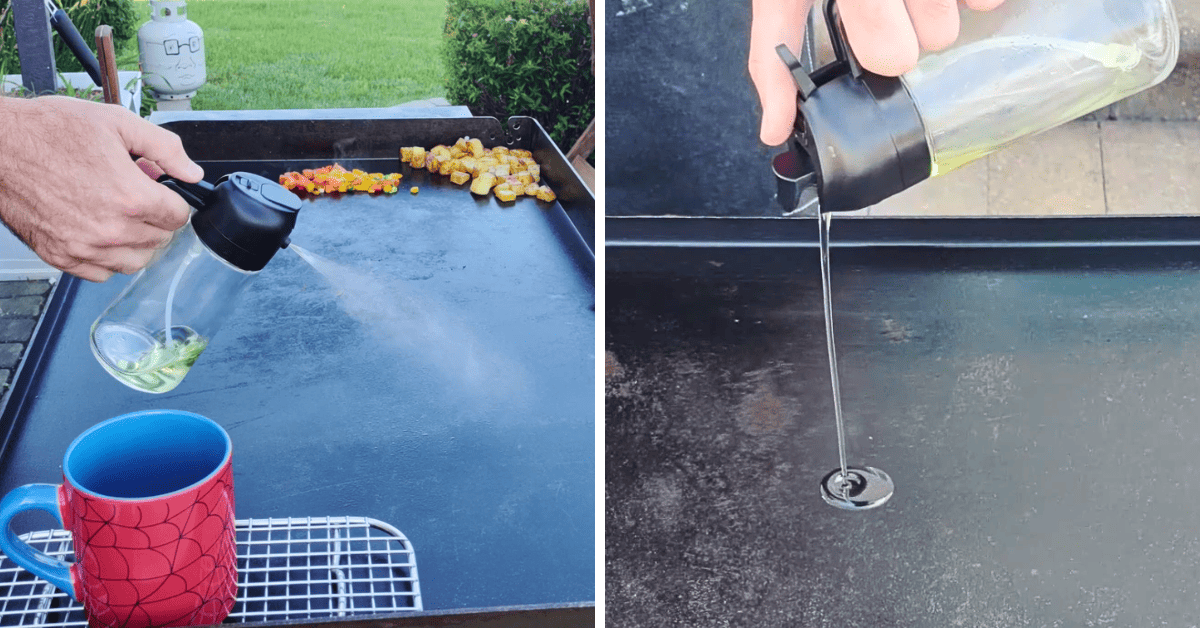
- 2-in-1 oil spritzer. Some people suggest separate squirt bottles for water and oil, but I like a 2-in-1 glass spritzer. It won’t melt, and you can either spray a little oil or pour a lot when needed. You can still use a regular squirt bottle for water and cleaning.
There are other accessories I “like” and use often, but they’re not essential. Check out my full blog post The Best Blackstone Griddle Accessories.
How To Clean Your Blackstone Griddle
Keeping your griddle clean is easy if you do it right.
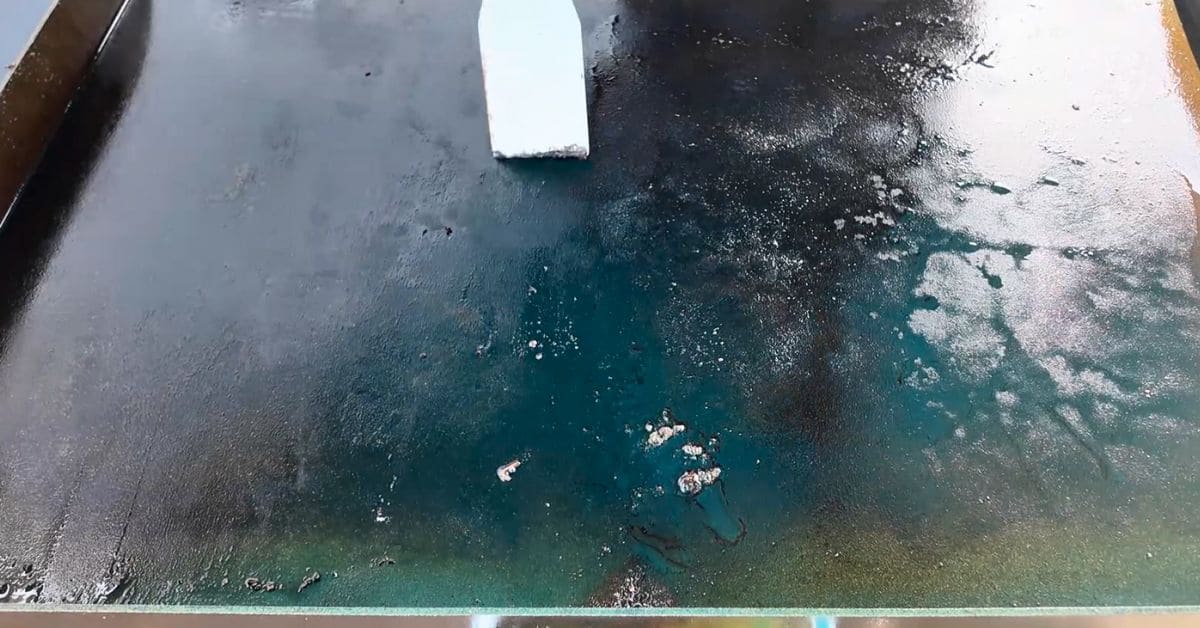
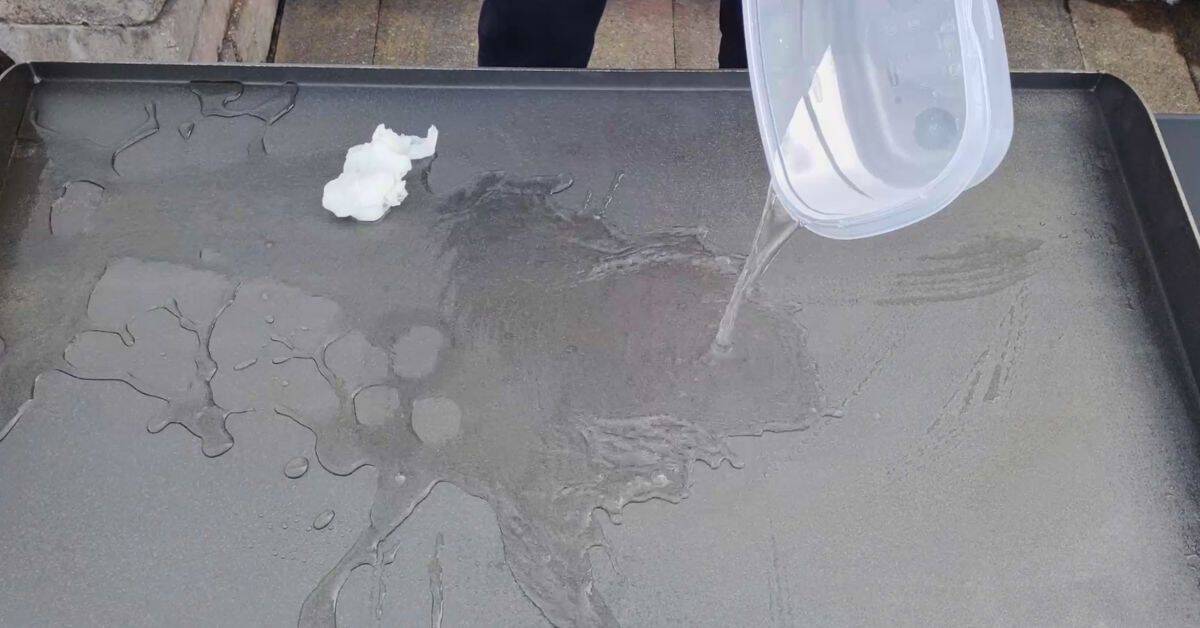
- Turn to Low and Scrape. Lower the heat and scrape off food and grease, pushing everything into the grease trap.
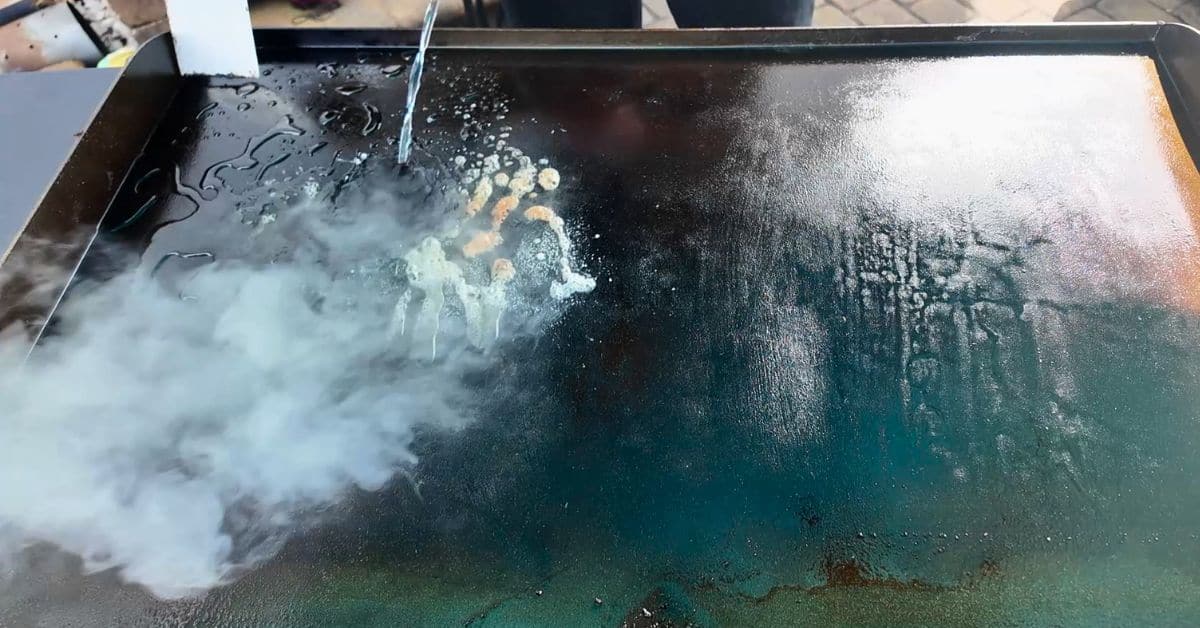
- Steam clean with water. Pour a small amount of water on the surface to loosen stuck-on bits, then scrape again.
⭐️ Pro Tip!: The more you scrape as you go, the quicker the final clean up is.
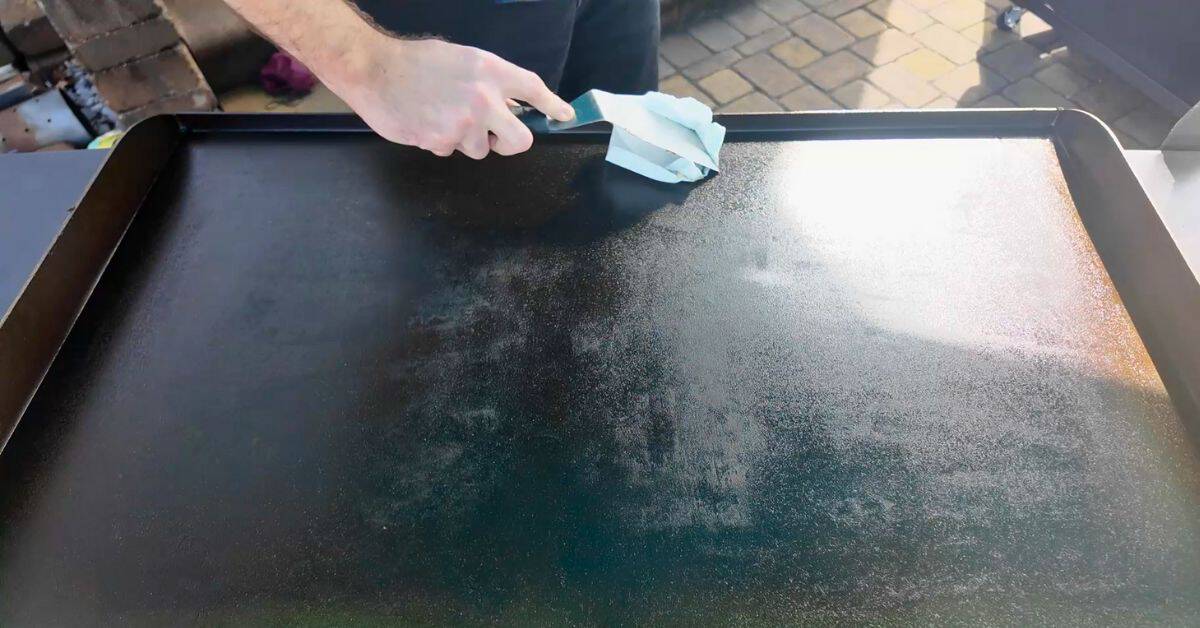
- Wipe clean. Use paper towels (with tongs) to wipe the griddle dry and clean.
- Lightly oil the surface. Add a very thin layer of oil, spread it evenly, let it heat briefly, then turn the griddle off and let it cool.
If you’re brand new and want the full walkthrough—with pictures, a video, and the most common mistakes to avoid—check out my detailed post How To Clean a Blackstone Griddle.
If rust does appear, a pumice stone can remove it, and I have a full blog post and vdieo How To Remove Rust From Your Blackstone Griddle.
What To Cook First on Your New Griddle
Bacon onion smash burgers are one of the best first cooks you can make on a newly seasoned griddle. The bacon fat and onions help reinforce that fresh seasoning while you’re cooking something simple and forgiving. And let’s be honest — if you bought a griddle, smash burgers were probably at the top of your list anyway.
Final Thoughts
Mastering your Blackstone griddle isn’t hard—you just need the right foundation. If you follow these steps, you’ll avoid beginner mistakes and start making amazing food right away.
Have questions or need more tips? Let me know in the comments!
Bill k says
Mice ate thru my blackstone cover and built a nest on the griddle. I cleaned it but the thought of using it grosses me out. Is it ok to use or do I need a new griddle top?
Thx,
Bill K
Johnny says
Hey Bill, sorry to hear that. That would gross me out as well. I would scrape everything off then turn it to high and burn it all away. The heat will kill everything and be safe to use. Or what might make you feel better but is more work is taking off all the seasoning. You can do it with a wire wheel, just take all the seasoning off and then reseason it. It will take about an hour and a half but at least you know you got everything off and burnt off some new coats of oil.